Navigator는 페이지 간의 연결을 하는 함수이다.
자료구조상 stack으로 되어 있으며 push와 pop연산을 통해 구현할 수 있다.
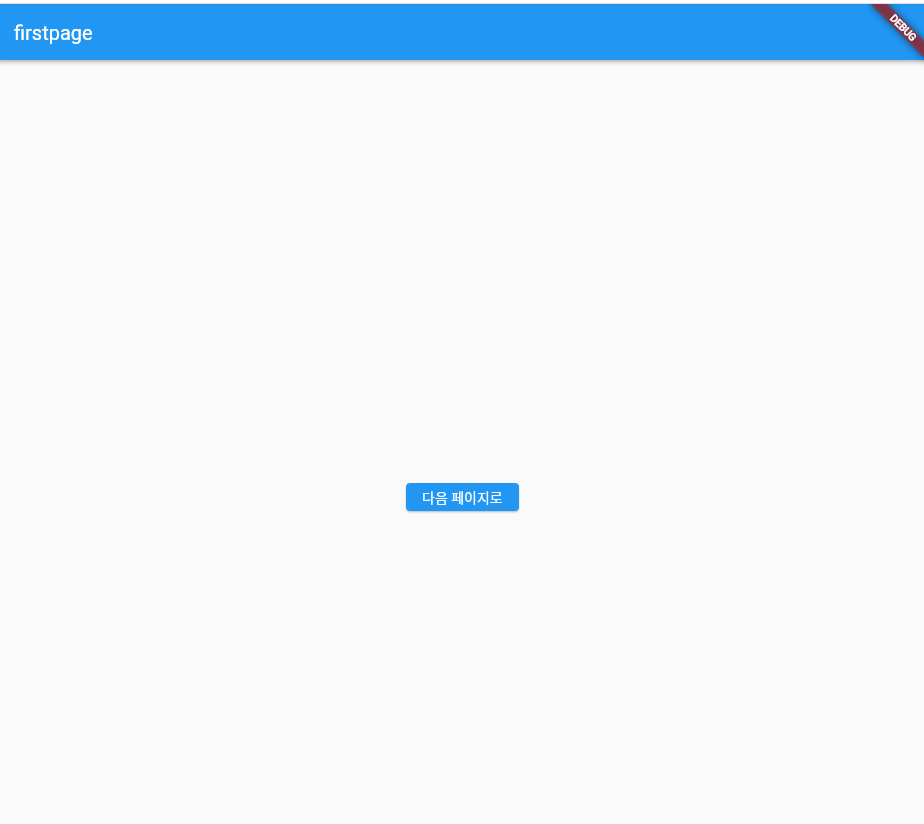
FirstPage
class FirstPage extends StatelessWidget {
  const FirstPage({Key? key}) : super(key: key);

  @override
  Widget build(BuildContext context2) {
    return Scaffold(
      appBar: AppBar(
        title: Text('firstpage'),
      ),
      body: Center(
        child: ElevatedButton(
          child: Text("다음 페이지로"),
          onPressed: (){
            Navigator.push(context2, MaterialPageRoute(
              builder : (context2) => SecondPage()));
              }
            )
          ),
    );
  }
}
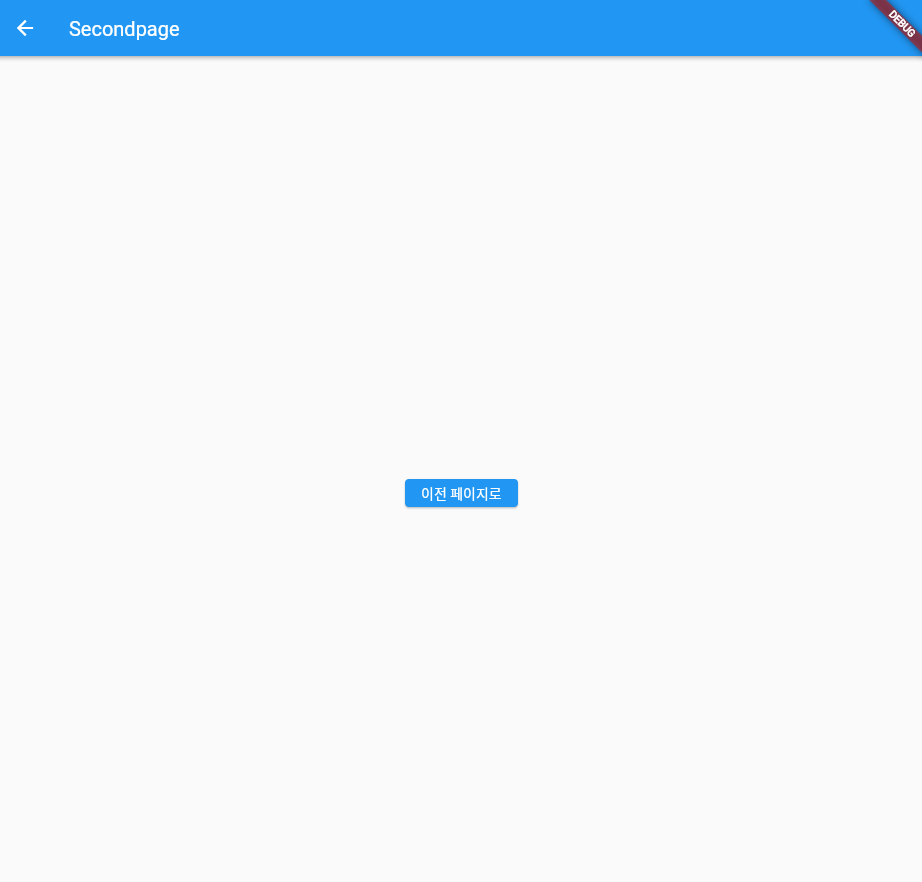
SecondPage
class SecondPage extends StatelessWidget {
  const SecondPage({Key? key}) : super(key: key);

  @override
  Widget build(BuildContext ctx) {
    return Scaffold(
      appBar: AppBar(
        title: Text('Secondpage'),
      ),
      body: Center(
        child: ElevatedButton(
          child: Text("이전 페이지로"),
          onPressed: (){
            Navigator.pop(ctx);
          },
        ),
      ),
    );
  }
}
외부 파일로 페이지 연결하기
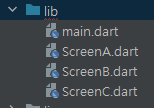
import 'package:flutter/material.dart';
import 'ScreenA.dart';
import 'ScreenB.dart';
import 'ScreenC.dart';
맨 위에 import를 해줘야 한다.
void main() {
  runApp(const MyApp());
}

class MyApp extends StatelessWidget {
  const MyApp({super.key});

  // This widget is the root of your application.
  @override
  Widget build(BuildContext context) {
    return MaterialApp(
      initialRoute: "/",
      routes: {
        '/':  (context)=>ScreenA(),
        '/b':  (context)=>ScreenB(),
        '/c':  (context)=>ScreenC(),
      },
    );
  }
}
web과 동작 원리는 비슷하다.
들어오는 경로(url이라고 이해함)를 설정해주고 각각의 화면으로 가면 된다.
ScreenA
import 'package:flutter/material.dart';

class ScreenA extends StatelessWidget {
  const ScreenA({Key? key}) : super(key: key);

  @override
  Widget build(BuildContext context) {
    return Scaffold(
      appBar : AppBar(
        title : Text("ScreenA"),
    ),
      body: Center(
        child: Column(
          mainAxisAlignment: MainAxisAlignment.center,
          children: [
            ElevatedButton(
              child : Text("go to ScreenB"),
              onPressed: (){
                Navigator.pushNamed(context, '/b');
              },
            ),
            ElevatedButton(
              child : Text("go to ScreenC"),
              onPressed: (){
                Navigator.pushNamed(context, '/c');

              },
            )
          ],
        ),
      ),
    );
  }
}
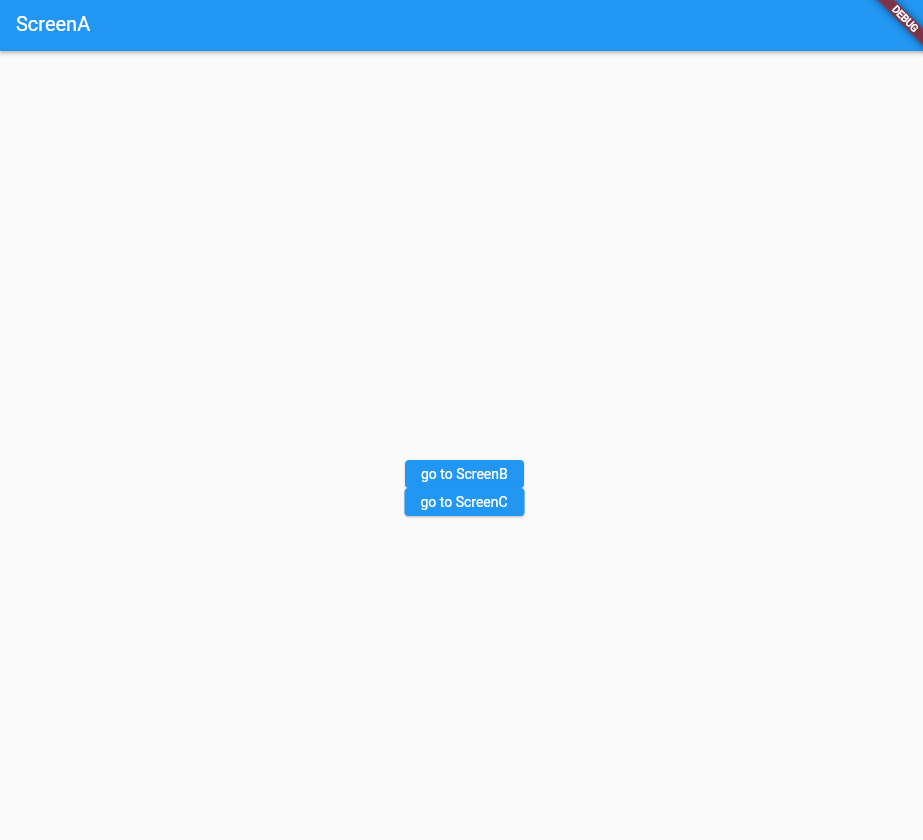

ScreenB와 ScreenC로 이동하는 걸 알 수 있다.
'Flutter' 카테고리의 다른 글
| Google Play Console 정책 변경 후 테스터 20명 모집 (1) (2) | 2024.01.11 |
|---|---|
| 항해 플러스 코육대 - HangMan 게임 만들기 (1) | 2023.09.28 |
| Build Context와 snackbar (1) | 2023.03.20 |
| Drawer (0) | 2023.03.20 |
| Text style, Image 업로드 (0) | 2023.03.19 |


